This article is the start in a series about unmanned system autonomy, we're going to explore building a "Rover" ground vehicle, a sub-250 gram quad, and a heavy lift quad - and give them all some autonomy and the ability to control them remotely over a range of links such as radio and remote-over-IP. You can follow along the whole series or just explore individual posts, whatever you like!
Different flight controllers come with different firmware installed out of the factory; however you may wish to change from one to another. For example, as part of this series I'll be working with the SpeedyBee F405 mini for an autonomous sub-250 gram drone, but that stack comes with Betaflight installed, so I'll need to swap it to ArduPilot for this project. I'll also be working with a Matek H743 Wing which comes with iNav out of the box. The process is very similar whatever flight controller you're using.
The first step is to get your flight controller (FC) into DFU mode. There are a few different ways to do this, but the most simple is to hold the "Boot" button when first powering up. Another way, if you have Betaflight installed, is to connect to Betaflight and use the CLI to enter the command: "bl" (for bootloader).
One common issue with talking to flight controllers and using DFU mode is drivers, so it's worth checking the device manager to ensure the device is showing correctly before proceeding further. Here's a screenshot of what my Matek H743 Wing looks like when I boot into DFU mode:
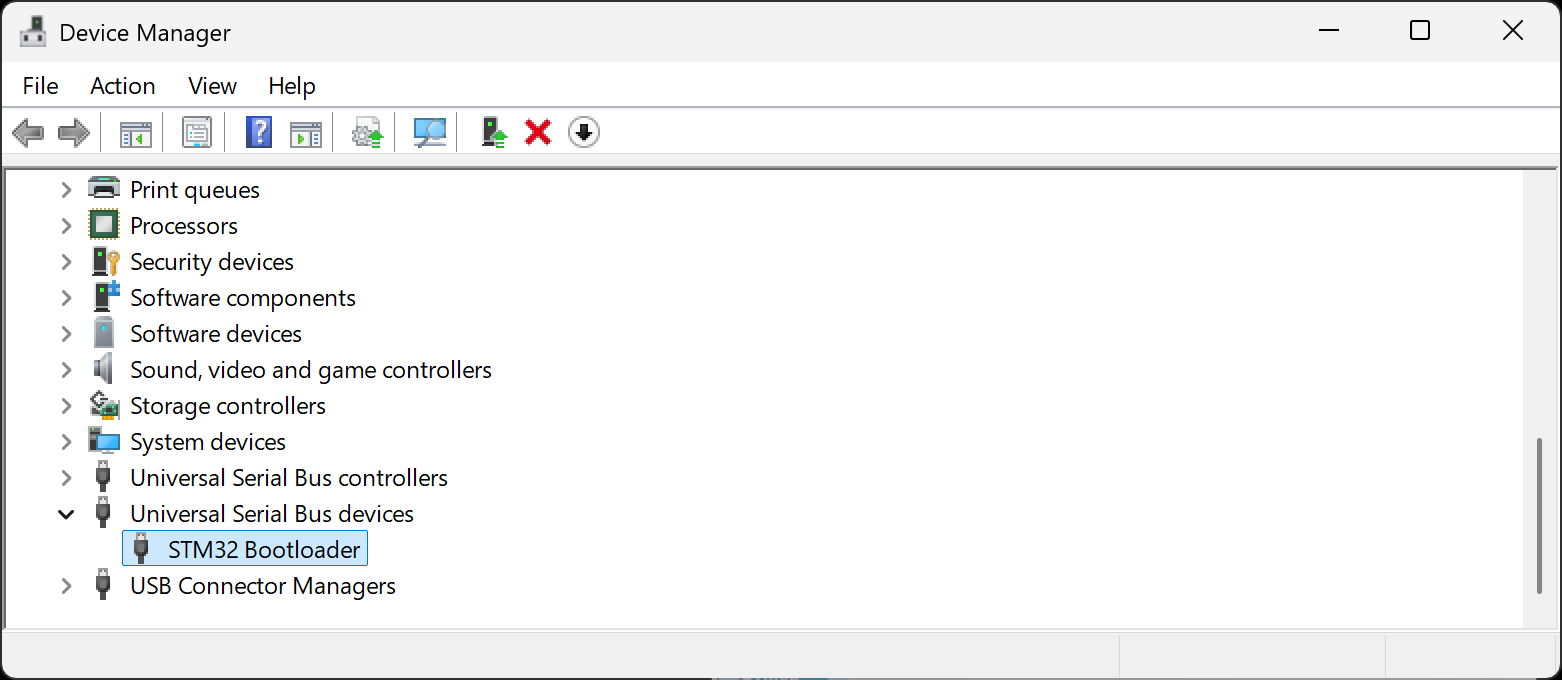
Different devices with have a different name, but you should have a DFU device and it should not be showing with any warning icons. It may show as "STM32 Bootloader", or similar. If your device is showing but your computer does not have a driver for it, you can install the correct driver with tools like ImpulseRC Driver Fixer or Zadig.
Once you're in DFU mode, you're ready to install ArduPilot. Note, there are separate versions depending on your vehicle of choice (e.g. fixed-wing, quadcopter, rover, submarine) - and there are separate binaries depending on your flight controller (or "autopilot" as they call it) - you need to grab the files from https://firmware.ardupilot.org/.
I'll be writing Rover to my Matek H743 Wing, and the current stable version is 4.6.3 at the time of writing, so I'll be grabbing "ardurover_with_bl.hex" from the MatekH743 folder. So for me the file is /Rover/stable-4.6.3/MatekH743/ardurover_with_bl.hex.
If you already have Betaflight installed and you're familiar with updating your firmware with Betaflight configurator, you can actually install ArduPilot in the same way by selecting "Firmware (local)" and supplying the above file.
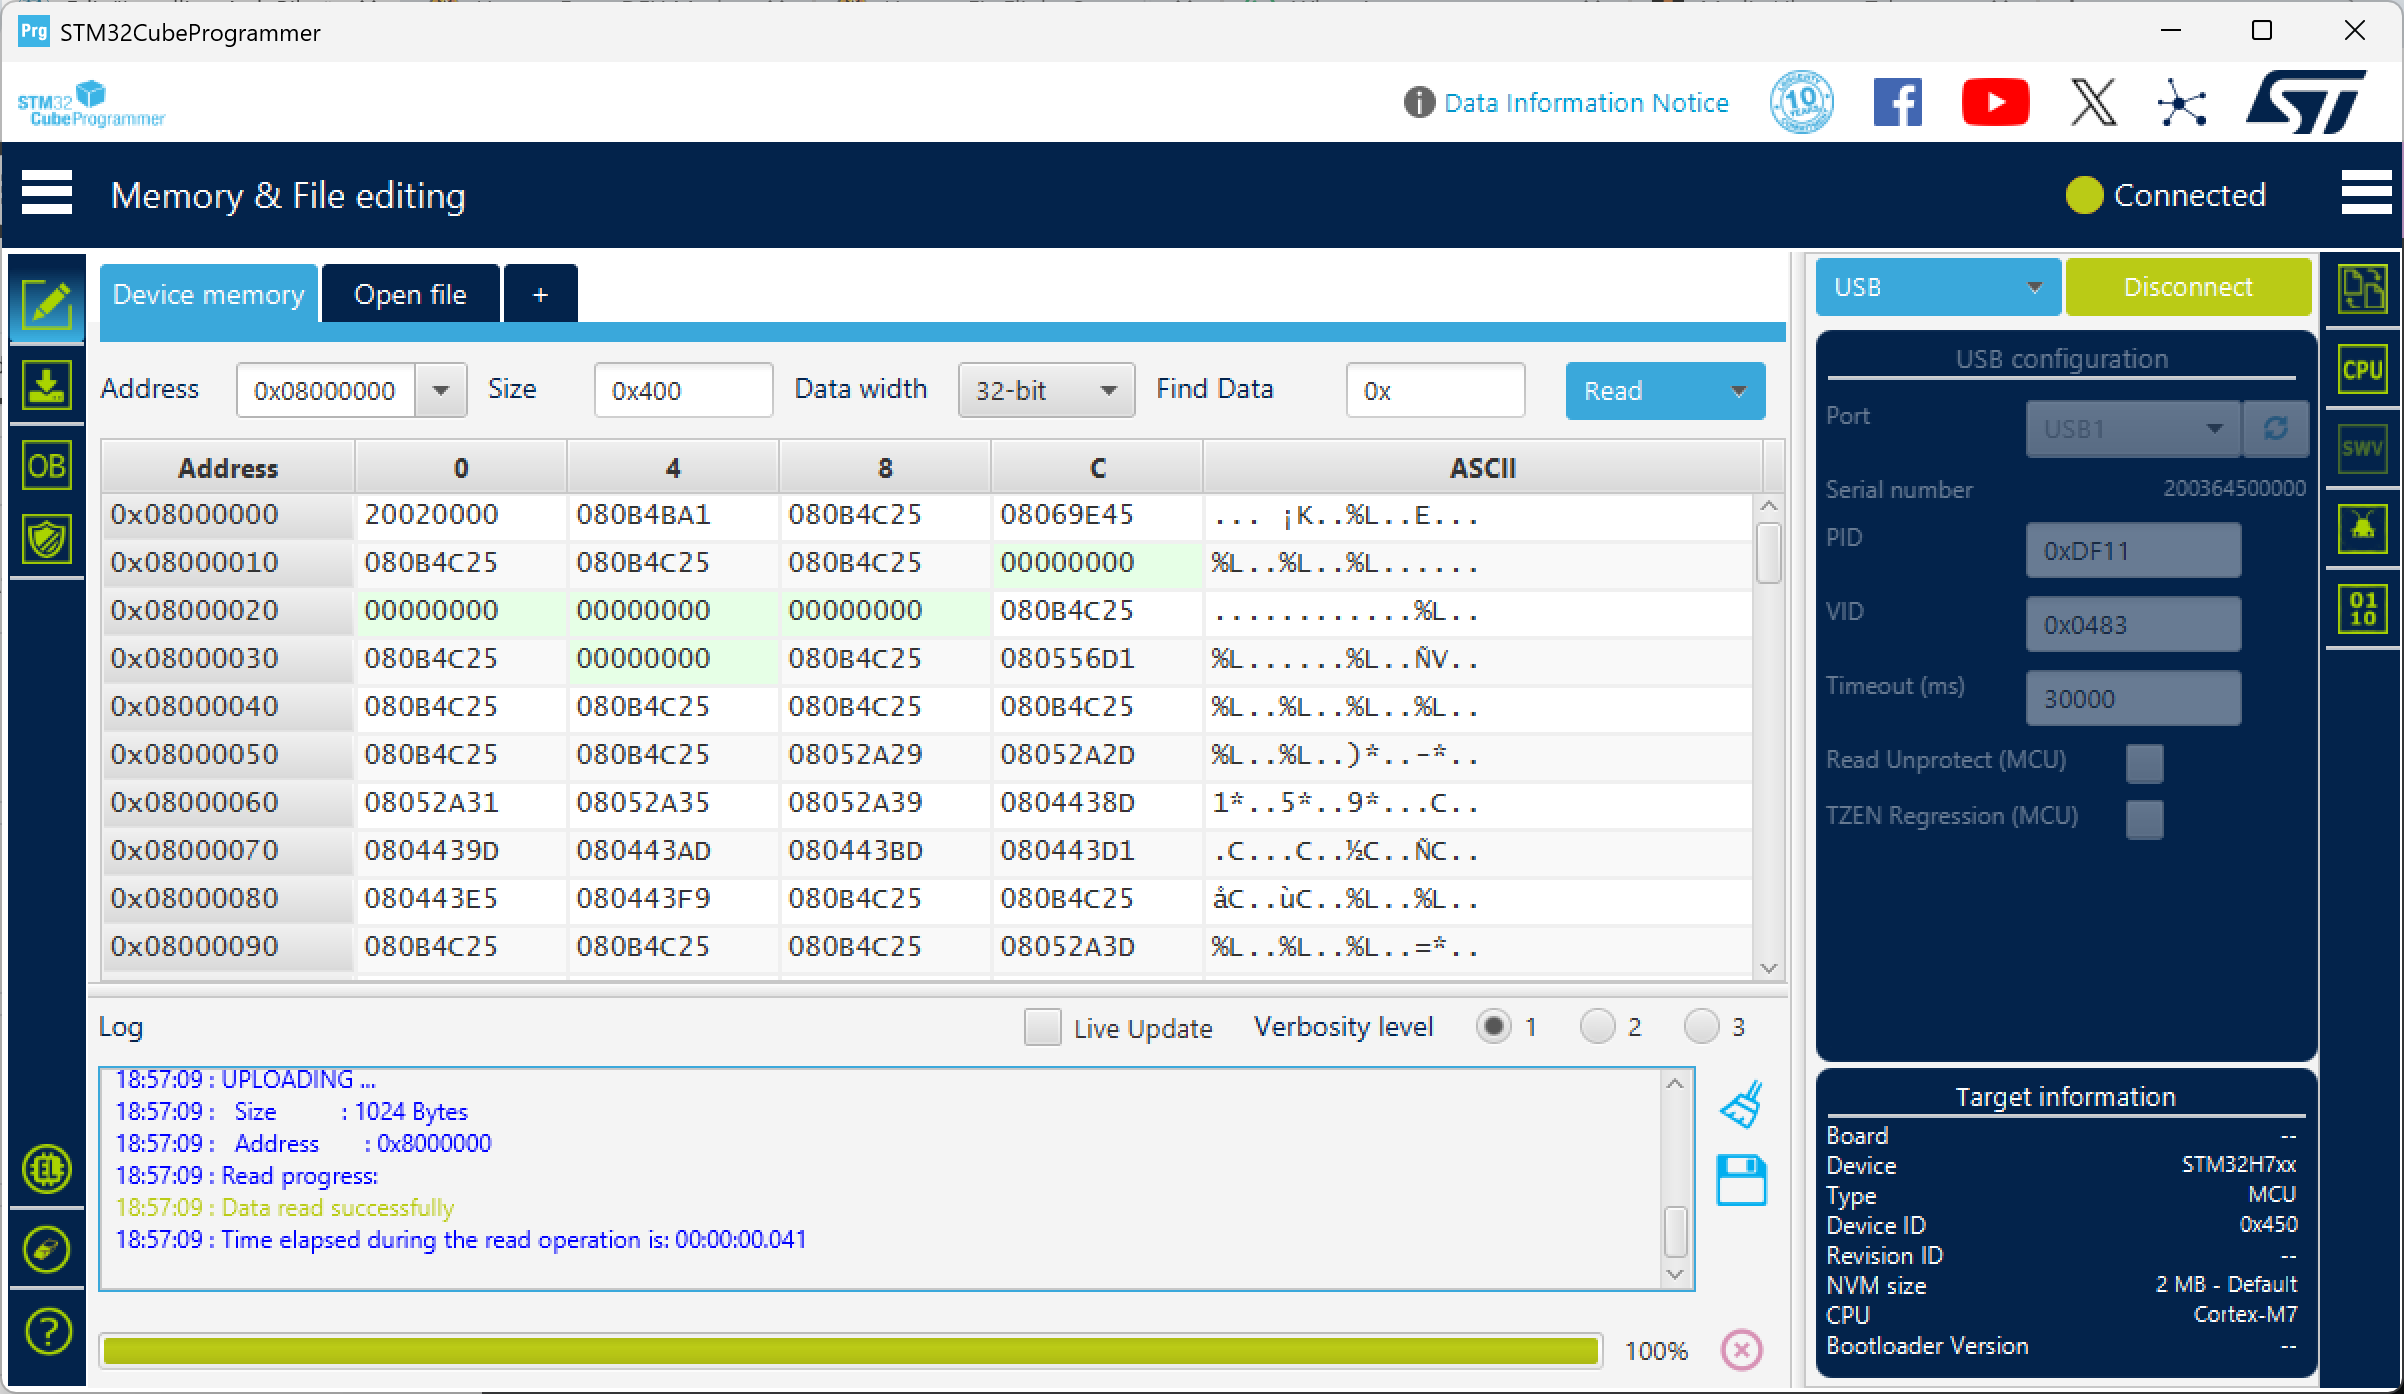
Otherwise, you can follow the following steps. These will work regardless of whether you've got Betaflight, or iNav, or something else. The tool to write the firmware hex file is STM32CubeProgrammer, which does require an account to download, but registration is free.
When you open the tool you need to connect to the flight controller first; that's done in the top right corner. You can see that I have selected "USB" and then hit connect and it's currently showing as connected.
Once connected, in the "tabs" in the main part of the screen you need to click "Open file" and select the ardurover_with_bl.hex file (or arducopter, or whatever platform you're running). This will open the file in a new tab as shown below. You can then click "Download" (shown on the next screenshot as "Downl...") and it will write it to the FC.
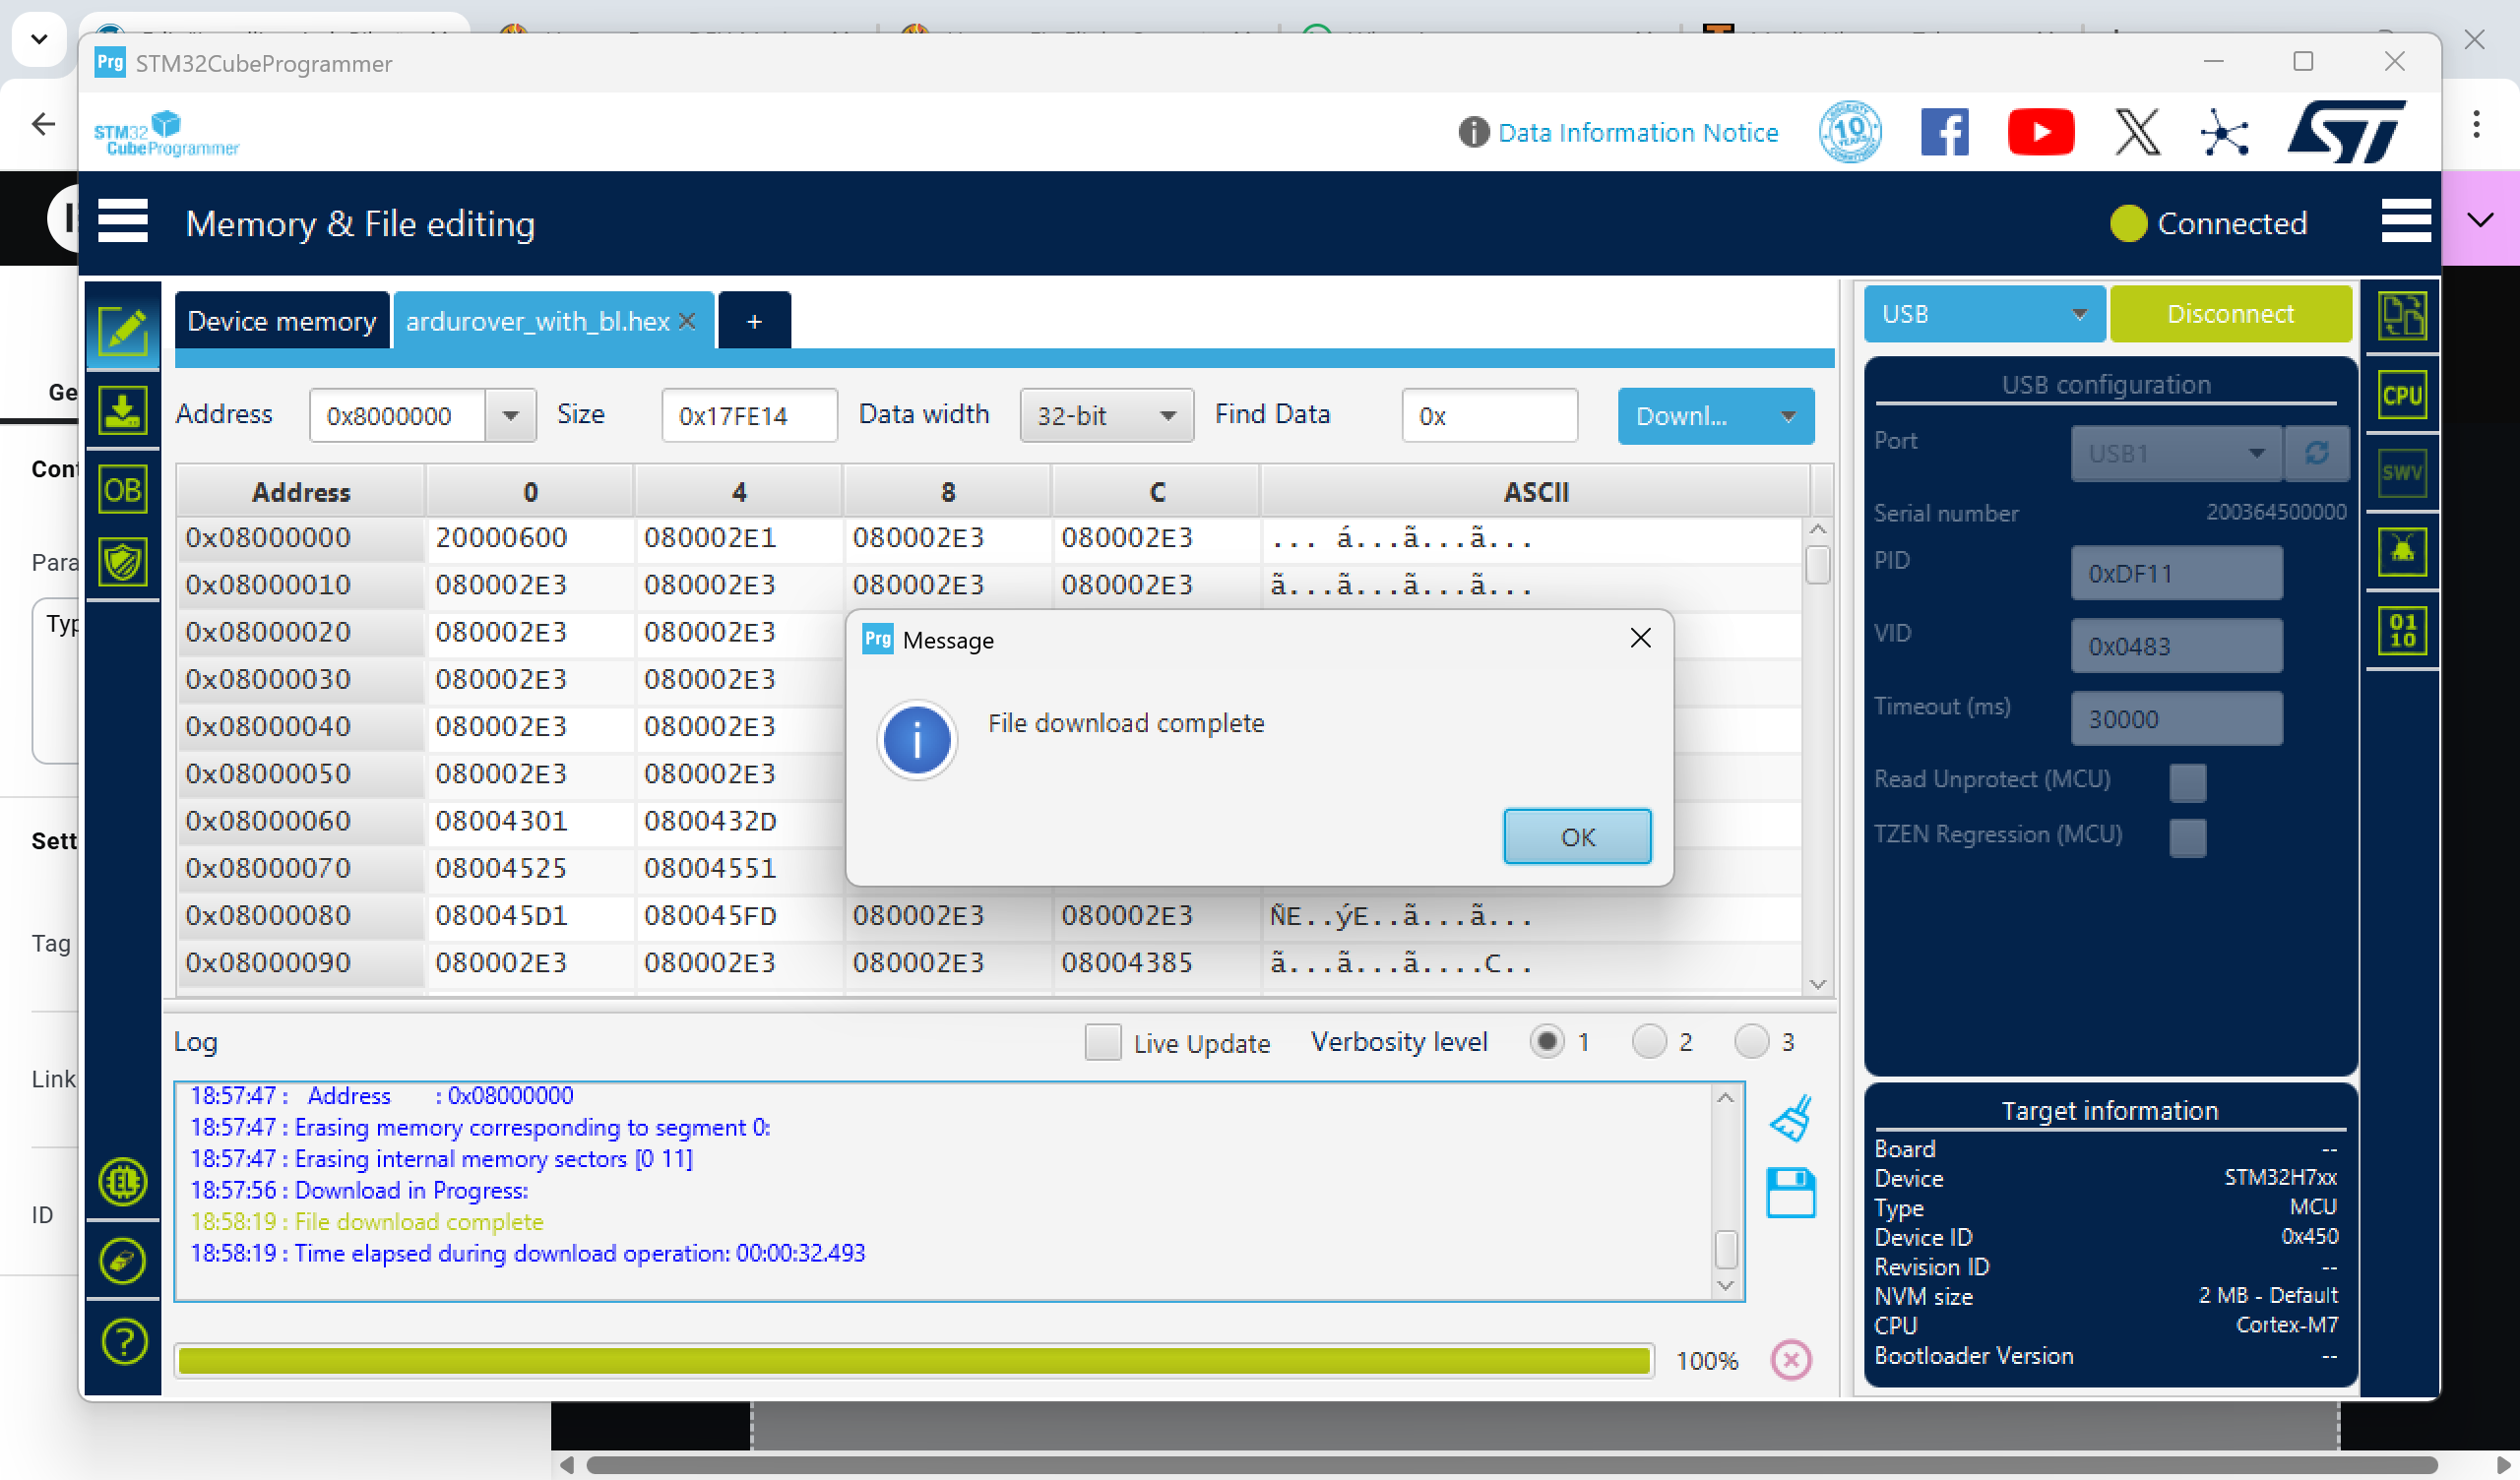
That's it! Restart the FC so you're no longer in DFU mode and connect using your ground control software of choice! For me, that's Mission Control on Windows.